Hi there everyone! Today I have to share with you something quite unique out on the market.
Most you all love indie polish and some of you nail addicts have even had custom polishes given to you or you have ordered them from your favourite brands. Well today i'm lucky enough to share with you a new company that is out there! It is called
Nayll Custom polish.
Ok so let me explain how it all works.
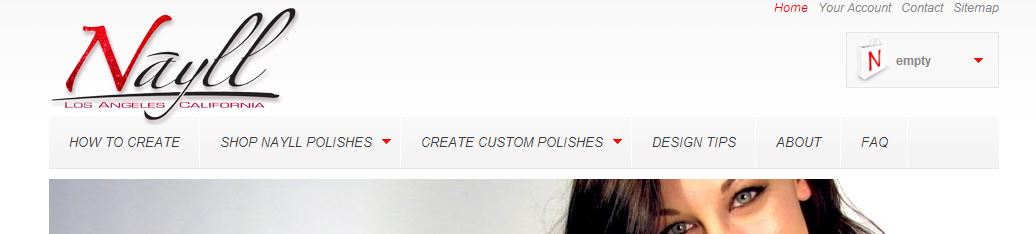
First up when you enter the site you have a top bar like below.
As you can see there is an option to either purchase pre made polish or create your own custom polish.
click on create custom polish and a drop down list will appear. This gives you an option for a shimmer polish (like a creme) or a glitter polish (glitter bomb)
I will go through both options.
Ok so if you pick shimmer base option you then see a bunch of coloured polishes in bottles. This is where you pick your base colour for your shimmer polish. below is a screenshot of some of the options.
Once you click on the colour you want this will take you to the next step. which is picking the pigment you would like. I clicked onto the purple base. you can see some of the pigment options below.
Now it is your turn to go crazy and pick what you would like in your base. when you click on a colour it explains what the pigment is and the colour you will get with it. You then have the option to click the add button and it will appear on a little line near your bottle pic. once you have finished you just add to cart. As simple as that!
So now the glitter option.
So the first step is the same.You click on glitter polish in the custom tab, then a bunch of coloured bases will appear. once you click on the base you would like all the glitter options will appear like in the pic below.
These are just some of the options you have. Each pic can be clicked on and will tell you what size the glitter is and shape. you can pick up to 10 glitters to pop in one polish.
Then like the shimmer polish you just add your final choices to the cart and pay. A short while later 2 weeks for me as I live in Australia, I received my polish.
So what can we do with this new idea? Well as a bonus to this great concept, you can pick the names of your polish and then Nayll print a custom label for them.
I wanted to go for an Avengers theme as i'm a bit of a Marvel nut. I decided to make 4 customs and then got one of the pre made polishes to give it a go.
Lets have a look shall we??
Smash- I used the shimmer option for this polish. I picked a purple base and had purple and iridescent green pigment put in the polish. Now this is where is is hard. I really wanted a darker purple with a good green shimmer but the final product was more of a dusty purple and the green shimmer was hard to see. I love the colour and the formula was great,only 2 coats, but for the Hulk which was what I was thinking it was not perfect. I think this is where you need to really think about what you are popping in your custom polish.
 |
| sun |
 |
| shade |
 |
| shade |
Red Headed Russian- I wanted a black widow polish. I needed one! so what better time than now to create it! so I used a black base for the glitters and popped in a bunch of different red glitters and a few different tiny silver ones. The polish turned out great. exactly how I imagined it would be. The formula was jam packed with glitter so much so that I chose to layer one coat over Ulta3 Black satin. Even with just one coat the glitter pay off was amazing. I then used a top coat of Seche Vite.
 |
| sun |
 |
| shade |
 |
| shade |
 |
| sun |
I still believe in heroes- I needed a Nick fury polish too so I grabbed the black jelly base again and picked silver micro glitter and holo pigment for this polish. An interesting thing. The holo pigment i was expecting was the 35micron spectraflair that we use here in Australia but it seemed that the holo pigment is a lot course than SF. From the looks of it it reminded me of the 0.002 silver holo powder you can get from TKB trading. It's funny cause this holo pigment seemed to work better than I think SF would have so it is a plus in my eyes, but I think it should be noted if your thinking of making a holo type polish . This polish was a bit textury when on the nail so I needed 2 layers of top coat. This tho is a side effect of using a lot of small glitters. I mean that's how a lot of brands make the textures, so it is to be expected. I swatched this polish 1 coat over Ulta3 black satin as the polish was jammed pack with glitter and one coat was enough to get some super shiny nails!
 |
| sun |
 |
| shade |
 |
| sun |
On your left- Was based on Captain America. I needed red white and blue glitters for this one so I picked a clear base and then picked a bunch of blue glitters in different sizes, red dots and white stars. It was the perfect combo. An amazing glitter bomb. I think my favourite from all 5 polishes.
I had to do some nail art with this polish so first up I swatched over Pretty serious cosmetics looks that kill and then used only 1 coat of "on your left" with a single top coat layer.
 |
| sun |
 |
| shade |
 |
| sun |
Then I did some Cap nail art. I loved how this turned out!!!
 |
| sun |
 |
| sun |
Last up is the pre made polish from Nayll's collection.
Studio 54- Is a gold glitter bomb with all shapes and sizes of gold and holo gold glitters. THe formula was great and I only used 1 coat over China Glaze custom kicks. and a top coat of Seche Vite.
 |
| sun |
 |
| shade |
 |
| sun |
All in all I am very happy with the customs. The concept I think is an awesome idea and the fact I got to name all my polish, that was cool. Id like to think in future there will be a larger variety of glitters and base colours, and I would love to see the shimmer pigment be available with the glitters too so you can make yourself a crelly shimmer polish.
The polishes range from $8.00 up depending on how many glitters you add to your polish. Each glitter is around 40 cents each to add with a maxima of 10 glitters in any one polish.
The postage is reasonable and 5 polishes cost $23.50 to post to Australia.
I think if your looking for a special polish that you cannot find anywhere
Nayll polish would be a great option for you to give a go.
Make sure you check out their IG account as well @nayll_polish as they show how they make your polish on there.
Until next time.......
* these polishes were provided to me for revive. for more information check out my disclosure policy.